The Substrate Series · 04 — Concrete pattern
Decouple your cooling and power domains from your compute PSU and you gain reliability, control, and cost-efficiency that bundled setups can't reach.
The principle, before the parts list
Most DIY builds treat power and thermal as one undifferentiated category: pick a PSU, pick a case, pick a CPU cooler, pick some fans, plug them all into the motherboard's fan headers and the PSU's rails, and call it done. The system works. It also fails as one system — a PSU surge can knock out the fans, a single fan-curve mistake in the BIOS can throttle the whole machine, a noisy fan can't be replaced without re-running the curve, and adding a card means rebalancing everything at once.
Separation of concerns is the alternative. Every domain that can run independently should run independently:
- The cooling for the GPUs runs on its own power source and its own controller. The compute PSU surging or browning out doesn't touch the fans.
- The NVMe cooling runs on its own thermal loop, controlled by a sensor on the drive, not by a global fan curve.
- The CPU cooling, the case airflow, the GPU cooling, and the management plane each have at least one independent failure domain.
- The whole machine sits behind a UPS that gives it about ten minutes of clean power to die gracefully if the mains drop.
This sounds elaborate. The actual parts cost less than the bundled-everything alternative because each domain can be optimized for its specific job rather than for "good enough across the board." This post walks through the MirrorForge cooling architecture as the worked example — a positive-pressure case, an AIO on the CPU, a custom NVMe fan loop driven by a 90-line bash script, and a dual-V100 cooling stack built around fab-printed blower shrouds fed by a pair of targeted 120 mm intakes and driven by a dedicated fan controller — and uses each as an instance of the same pattern. The V100 cooling in particular went through a full redesign since the first version of this build, and I'll walk the before and after because the delta is the clearest receipt in the post.
The case as airflow architecture, not a box
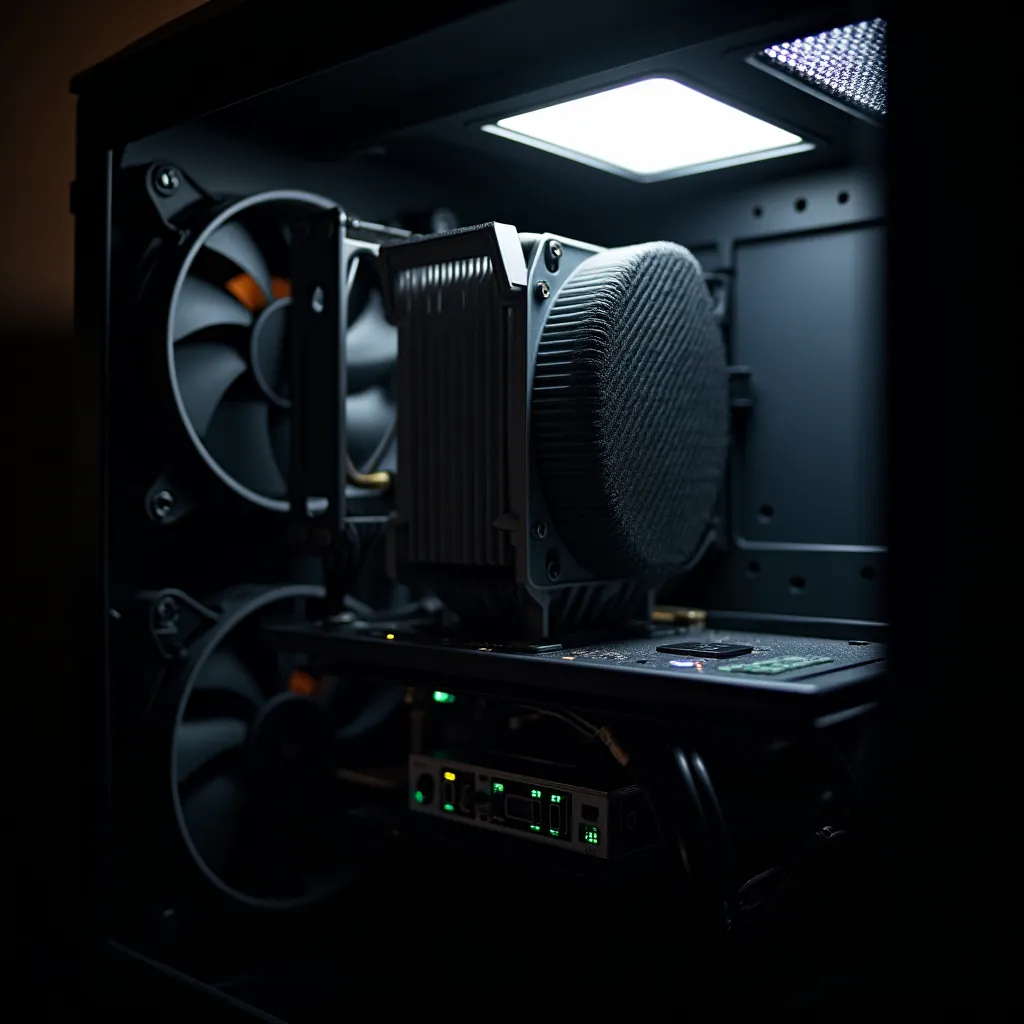
Case: Aerocool XPredator X3 full tower. The case matters because everything downstream of it is constrained by the air available, and a positive-pressure case with controlled inlets is a different machine than a default-curve case with the side panel flapping.
The airflow path, in order:
- Two 120 mm front intakes, aimed. The original build ran a single 200 mm front fan here — big, slow, high CFM, almost no static pressure, whose job was to flood the front of the case with ambient air. That got replaced with a pair of 120 mm fans positioned to blow directly into the intakes of the V100 blowers (the redesigned card cooling, below). This is the single most important change in the whole thermal story, and it's a philosophy shift: the front of the case went from flooding to feeding. A 200 mm fan pushing a slow ambient breeze past the cards is not the same machine as two 120 mm fans force-feeding cool air straight into the blower inlets that duct it through the fin stacks. Static pressure at the inlet is what a blower wants, and two 120s aimed at the mouths of the blowers deliver it where the 200 mm never could.
- Three 120 mm vertical mid-board wall fans. This is the curtain — three fans mounted in line, spanning the full width of the board, pushing air across the components rather than just past them. With the front intakes now dedicated to feeding the V100 blowers, the curtain is what keeps the rest of the board — VRMs, chipset, RAM — in moving air.
- One 90 mm bottom pressure fan, angled upward. Its job isn't CFM, it's pressurization. The case runs slightly positive, which keeps dust from migrating in through the seams and unused expansion slots.
- Two 120 mm top exhaust fans. Pull the warmed air up and out.
The thing to notice is that the airflow is directed, not just present — and the redesign made it more directed, not less. The old 200 mm fan was a compromise: one part doing "general intake" for the whole front. Splitting it into two aimed 120s turned a general intake into a targeted supply for the specific components that needed the most air. The 90 mm pressure fan, coupled with the intakes, still makes the case slightly overpressured against ambient, which costs nothing and dramatically reduces dust ingress. This is the cheapest separation in the build: positive pressure is a design property, not a part you buy — and matching each fan to a specific job instead of a general zone is the same discipline one level up.
CPU cooling: AIO water loop
CPU: Xeon E5-2690 v4, 14 cores at 135 W TDP. Cooler: Thermal Grizzly Kryonaut Extreme paste + 120 mm AIO water loop (pump, radiator, fan as a single unit).
The thermal performance: 22–31 °C at idle, peaks ~38 °C under sustained training load. Numbers that look implausibly low until you remember that the chip is on a watercooled loop in a positive-pressure case, fed by an airflow path designed to keep the radiator in clean cool air.
The relevant separation move here is the paste choice. Kryonaut Extreme costs about $25 for a tube that lasts the build. It is genuinely better than the stock paste that ships with most coolers, and the gap shows up under sustained load, not in benchmarks. Paying attention to the interface materials, not just the cooler, is a category of cheap-but-load-bearing decision that bundled builds usually skip.
NVMe cooling: the bash-script controller
This is where the architecture gets concrete.
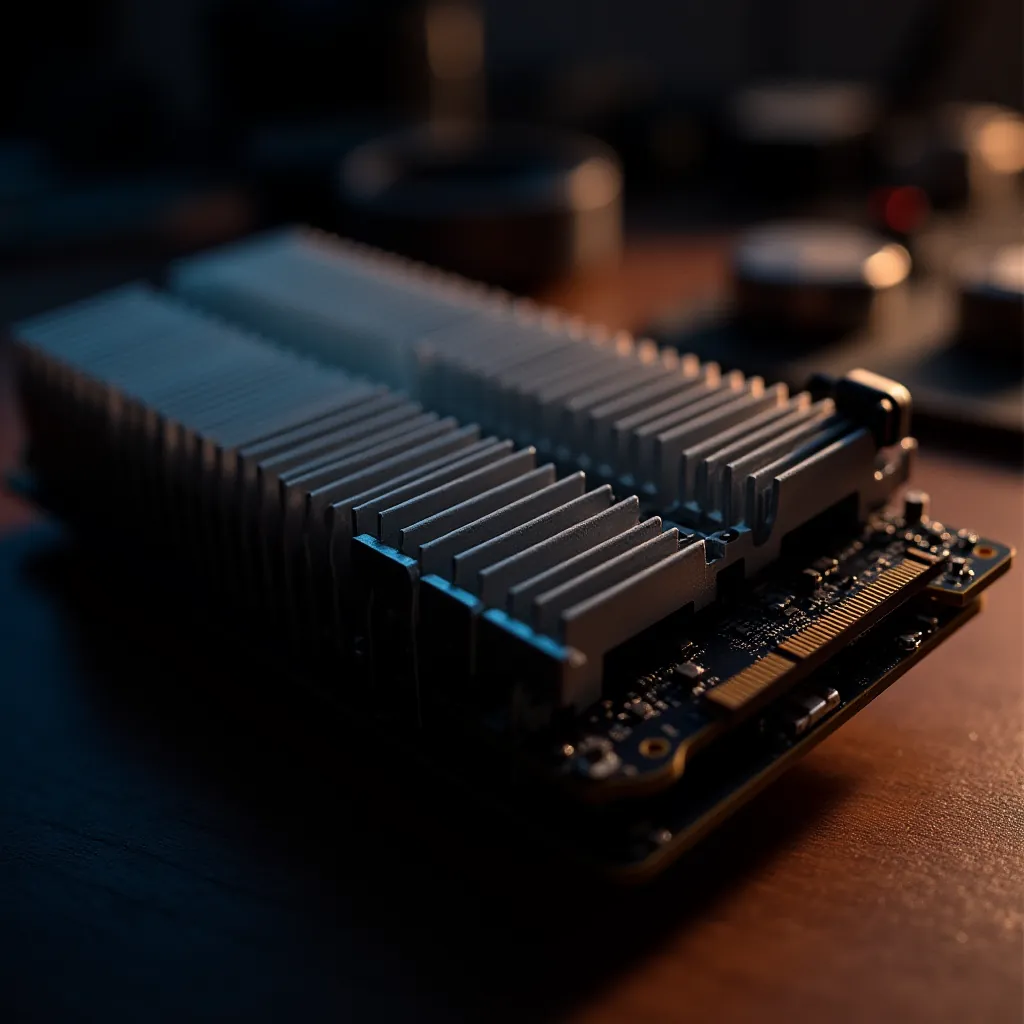
Drive: SKHynix 1 TB Gen 4 NVMe (boot). Cooler: Thermalright HR-10 Pro heatsink. Fan: dedicated 40 mm on SYS_FAN1, controlled by nvme-fan.service.
The point isn't that the heatsink exists. The point is that the fan is driven by the drive's own temperature sensor, not by a global case fan curve. The drive's composite temperature lives in /sys/class/hwmon/hwmonN/temp1_input; an it8628 chipset exposes PWM control on pwm1. The script binds them together with a piecewise-linear curve:
| NVMe temp | PWM out | RPM (approx) |
|---|---|---|
| < 35 °C | 50 | ~480 — quiet idle |
| 35–50 °C | linear ramp 50 → 150 | rising |
| 50–70 °C | linear ramp 150 → 220 | high |
| ≥ 70 °C | 255 | full speed |
| ≥ 80 °C | 255 + CRITICAL log entry | full speed + alarm |
Ninety lines of bash. Reads the sensor every 10 seconds, writes the PWM, logs to /var/log/nvme-fan.log, restores auto mode on SIGTERM. The result: NVMe sits at 30–31 °C under sustained I/O stress, the fan is silent at idle, and the drive thermals are a separate problem from the case thermals.
This is the pattern that scales. Every component that has a temperature sensor and a controllable fan can have its own loop. You don't need a $200 fan controller with an LCD and an app. You need a sensor path, a PWM path, fifteen lines of conditional logic, and a systemd unit. The whole NVMe thermal subsystem is a self-contained module that the rest of the system doesn't know exists.
One small footnote: the it87 kernel module is required to expose the chipset's PWM controls under Linux, and it has to be force-loaded on most distributions. The line it87 in /etc/modules-load.d/it87.conf is the entire fix; without it, every echo to a pwm* file silently fails. This is the kind of detail that costs hours when you don't know it and zero when you do — exactly the labor-not-money tax post 03 talked about.
V100 cooling: the redesign that dropped the cards 20 °C
GPUs: 2× Tesla V100 16 GB PCIe. The V100 ships passively cooled — it's a server card designed to live in a 1U/2U chassis with brutal directed airflow blasted through it from the front of the chassis. In a desktop case the passive heatsink does nothing without external air pushed through it at very high static pressure. This card went through two cooling designs, and the gap between them is the sharpest receipt in the build.
Version one: fans bolted to the fin stack
The first design was the obvious one. 4× Arctic S4028-6K 40 mm server fans, two per card, bolted to the heatsink endcap, pushing through the fin stack — powered off a separate 19 V laptop brick through a buck converter on a hand-built veroboard, dropped to 18 V (a deliberate 50 % overvolt for extra static pressure), in its own isolated enclosure. It was, on paper, the cleanest separation in the lab: the cooling on a fully independent power plane, a custom voltage rail, a separate failure domain.
It also wasn't good enough. Under sustained 250 W load a card hit 81 °C — functional, but into the thermally-stressed range and too hot to leave running for days. The workaround was a power cap: nvidia-smi -pl 220 drops the card to 220 W and steady-state to ~70 °C, costing roughly 12 % of throughput on FLOPS-bound work. That's the state the first version of this post described. It worked, but it was paying for thermal headroom in throughput.
The reason it capped out is worth naming, because it's the whole lesson: bolting fans to a bare fin stack blows air at the heatsink, not through it. Most of the air a 40 mm fan pushes at an open fin stack spills around the sides and over the top — the path of least resistance is around the fins, not through the dense channels where the heat actually is. Raw fan CFM aimed at an unsealed heatsink is mostly wasted. You don't need more air; you need the air you have to go through the fins instead of past them.
Version two: a printed shroud that seals the air in
The second design fixes exactly that, and it's the first serious functional part the lab's own fabrication node produced (the full story of that node is post 11 — this is its founding job). Per card:
- A blower shroud, printed in annealed HT-PLA-GF (glass-fibre-reinforced high-temp PLA). Roughly twelve design iterations; card #1 wears the v4 (L = 50 mm), card #2 a slimmed v5 that fits the tight dual-card spacing. The shroud ducts a single blower's output into the fin stack and encloses the sides, so the air has nowhere to go but through the fins.
- Two glow-pink TPU gaskets — a ledge face-seal at the accepted collar gap, and a fin-face frame with an ingress nose. The gaskets are what turn "a shroud near the heatsink" into "a sealed duct." Both passed first-shot on the flexible printer.
- A 93 × 33 mm blower — a proper radial blower (the "9733"), which makes static pressure the way a fin stack wants it, where the little axial fans made mostly noise. This is what the two front 120 mm intakes are aimed at: case fan → blower inlet → sealed shroud → through the fins → out.
The material choice has margin to spare. HT-PLA-GF holds roughly 105 °C un-annealed and ~125 °C annealed; the shrouds are annealed, and they sit in moving cool intake air with a card face around 61 °C — about a 2× thermal margin, no creep watch needed. A part that lives in the cool-air path, not the hot-exhaust path, is a much easier material problem than it first looks.
The receipts
The delta is the point:
- Single V100, 100 % load: ~81 °C (bolted fans) → 61 °C flat, held for minutes, with the shroud. A 20 °C drop from the same card at the same load — purely from sealing the air into the fin stack.
- Dual-V100 15-minute burn: never above 70 °C. Steady averages 61.1 / 59.6 °C, peaks 67 / 65 °C. Both cards on printed shrouds, TPU gaskets, and 9733 blowers.
The 20 °C the shroud bought back is the same 11 °C the power cap used to buy, and then some — which means the cap that used to be a thermal necessity is now just an option. The card runs at 61 °C at full load; you can leave the cap off and take the throughput, or keep it for efficiency, but you're no longer trading performance for survival. Sealing the air in gave back the headroom that capping the card used to cost.
What happened to the separation story
Honesty check, because the first version leaned hard on the cooling being a fully separate power and control plane, and that changed. The new fans and blowers run off a Thermalright ARGB + fan controller, powered from a Molex on the main PSU — not the isolated 19 V brick anymore. So the power is now shared with compute, where it used to be independent. What survives is the control separation: the throttle lives on the dedicated fan controller, not the motherboard BIOS fan curve, so a board fault or a bad BIOS profile still can't cascade into a thermal incident, and the cooling is still tuned and swapped independently of the compute side. The clean-power failure domain that the isolated brick used to provide is now covered one level up, by the UPS and the RailCore power spine below — which is the more honest place for it to live anyway. The lesson isn't "always isolate every rail"; it's that separation should live at the layer where it actually earns its keep, and for this cooling that layer turned out to be control and airflow, not volts.
PSU: the Marketplace receipt
PSU: Seasonic Vertex GX-1200. 1200 W 80+ Gold, fully modular. New, in box, $150 on Facebook Marketplace. Retail on this unit is about $200 in normal channels.
The receipt isn't the value. The receipt is the architecture. PSUs are one of the parts where used markets are dominated by people who don't know what they're selling — gaming-PC upgraders, post-build cleanups, gift-returns. A new-in-box Seasonic Vertex at $150 is not "lucky." It's a thing that exists every week on Marketplace if you check often enough and know the model numbers. The patience tax replaces the convenience tax — the same separation of concerns logic operating on the buying side.
The PSU is sized for two V100s at 220 W each (440 W) plus the rest of the system at maybe 200 W, leaving ~500 W of headroom. The headroom matters because PSUs run most efficiently in the 40–60% load band, and oversizing slightly reduces both heat output and degradation rate.
The UPS: the upstream resilience layer
UPS: APC Back-UPS Pro 1500 VA (BX1500M). Covers the rack-side nodes — MirrorForge, the switch, the router, and picontrol. Roughly 10 minutes of full-rack runtime, longer for lighter loads.
The UPS does three things that none of the per-component decisions can:
- Clean power. Brownouts and surges that would damage a PSU or corrupt a write get absorbed.
- Graceful shutdown. A long power outage triggers an orderly shutdown signal to the UPS-aware nodes, not a sudden cut.
- Survives momentary drops. Most utility outages are a few seconds to a few minutes. The UPS spans those entirely; no downtime, no reboot.
This is a domain that's separate from compute power and separate from thermal but plays the same architectural role: it's a failure domain insulating everything downstream of it.
RailCore V1: the power spine that glows with the health of the mesh
The UPS protects the rack-side compute. The edge tier — the fab node, the watcher, the small boards, the fans and services that make up the always-on periphery — got its own answer, and it's the most complete single instance of separation-of-concerns in the build because it separates four domains at once and makes one of them visible from across the room.
RailCore V1 is a wall-mounted DC power-distribution box that does two jobs in one object: it carries power to the edge tier, and it carries the edge tier's health back into the room as light.
The power side is deliberately boring, and deliberately bounded. RailCore is not a DIY battery UPS — that boundary is on purpose. The chain is:
Wall AC → APC UPS → ATX PSU (inside RailCore) → fused 12 V / 5 V DC rails → edge nodes + fans + status renderer
Each link owns exactly one job. The APC protects wall power (mains loss, ride-through). The ATX supply converts AC to clean DC. RailCore distributes fused DC rails, organizes the wiring, switches the tier on and off at one visible latching switch, and provides strain relief. Nobody tried to solve battery management inside the chassis, because the APC already solves it upstream — putting a second battery system in the box would be duplicating a failure domain, not separating one. V1's honest scope is "make the edge tier's power cleaner, safer, and more serviceable," not "survive every conceivable power fault." If the ATX supply itself dies, the APC can't save that, and RailCore doesn't pretend otherwise.
This replaced what every homelab accretes by default: a confetti of wall-warts, one brick per node, no two alike, none serviceable. One APC-backed ATX feeding fused, labeled DC rails is cleaner, easier to reason about, and easier to fix at 2 AM than a nest of barrel jacks.
RailCore has its own cooling, and it's the case-airflow pattern again, fractally. The enclosure runs a sealed, positive-pressure path: two 40 mm intake fans push air down through the stack, and with the lid on the box becomes a pressure plenum that forces airflow through the body and out the ATX exhaust. That was verified physically — with the lid installed, exhaust flow through the PSU increased. The lid doesn't choke the box; it completes the duct. That's the exact same principle as the V100 shroud sealing air into the fin stack, and the exact same principle as the main case running slightly positive — the same shape at three different scales in one build.
And then the lid glows. The top of the box is a 54-LED SK9822 ring behind a translucent PCTG diffuser, driven by a Pimoroni Plasma 2350 W microcontroller. Green and slowly breathing means the whole edge tier is healthy; a red arc pulsing means something is down, and which arc tells you which node. You don't read it — you notice it, the way peripheral vision flags motion before you consciously look. Crucially, the display is a read-only renderer: it invents no truth of its own, it polls the mesh's existing watchdog over WiFi and draws what the watchdog already knows. (The health authority, the arc-encoding, and the way the ring degrades honestly when it goes blind rather than lying green — that's an observability story, and it belongs to post 07, "The mesh that diagnoses itself.") The relevant point here is that the health display draws its power from the same DC bus it reports on, lives on the power box itself, in the room where the machines are — power and observability fused into one wall-mounted object.
The enclosure is printed in PCTG on the lab's own fabrication node — the translucent lid isn't a bought part, it's a diffuser designed and printed for the job (post 11). A power strip you can read like a mood ring, that the lab built for itself.
The smallest-scale instance of the same pattern
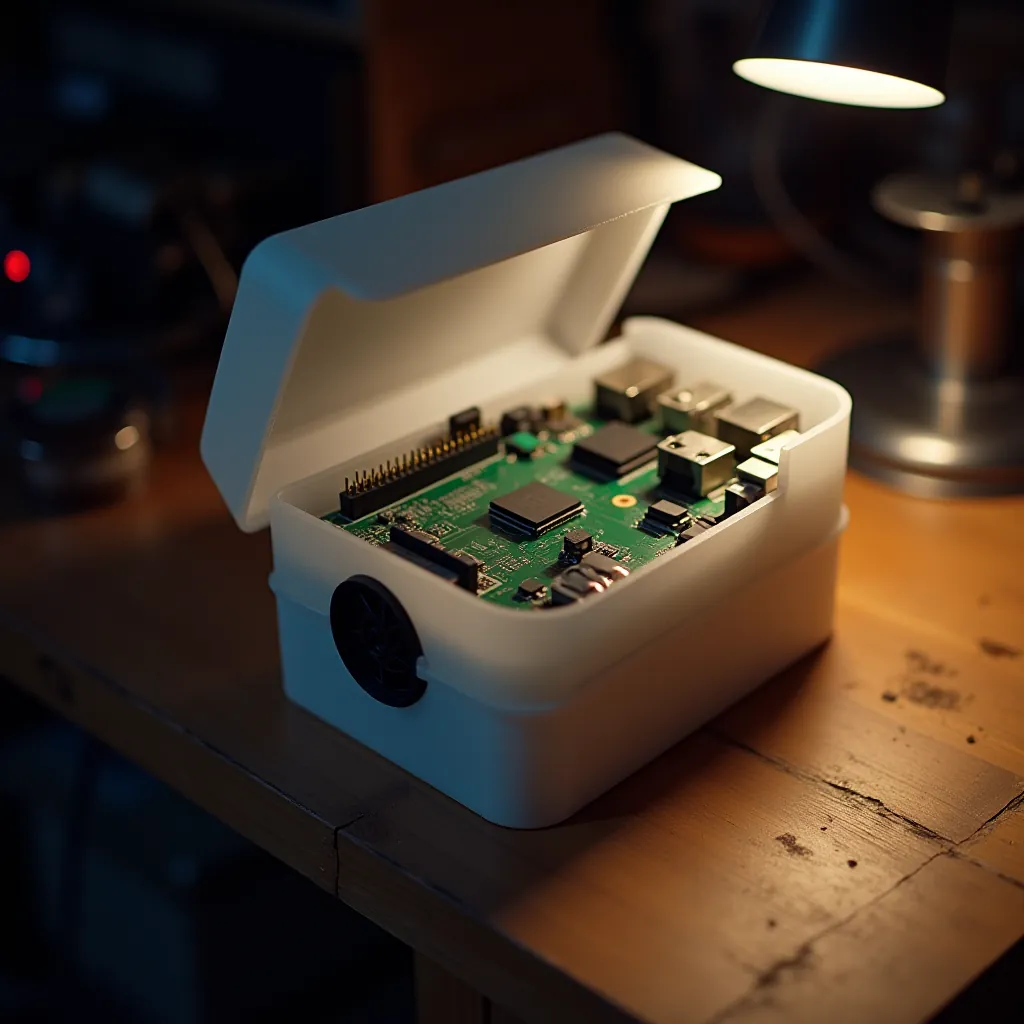
Picontrol — the Pi Zero 2 WH out-of-band gateway, covered in detail in post 06 — has the exact same architectural shape as the V100 fan rig, scaled down by two orders of magnitude.
Power: a 12 V fan-header connection from MirrorForge's motherboard runs out to picontrol's enclosure via a barrel jack. Inside the enclosure, a 12 V → 5 V 15 A buck converter regulates the input down to a clean 5 V rail that powers two things: the Pi Zero 2 WH itself, and a small 5 V blower-style fan. The blower pressurizes picontrol's own small case, mirroring the positive-pressure airflow architecture of the main MirrorForge case at SBC scale. Network: USB gadget mode (g_ether) over the same physical USB-A cable that's used for power-and-data on most Pi setups, with Wi-Fi as fallback when the USB link is down.
Read that paragraph back and notice what it describes. A separate power rail, regulated locally for the specific load. A small fan blowing air through a small pressurized box. A network connection that doesn't go through the LAN. The same architecture as MirrorForge's V100 fan rig, the same architecture as MirrorForge's case airflow, the same architecture as the point-to-point networking that's coming in post 05. The pattern is the same all the way down. That's the test of whether the principle is real and the dollar amount is incidental — when the same shape shows up on a $1,200 GPU-cooling power module and on $25 of management board, the principle is the load-bearing thing.
What this buys you
A bundled setup is one machine. A separated setup is several systems that happen to be sharing a case.
When the case airflow needs to be tuned, you tune the case fans only. When the V100 cooling needs to scale — going from one card to two, or reprinting a shroud to fit a tighter slot — you change the cooling assembly and nothing else touches the compute side. When the boot drive runs hot during a sustained training restart, the NVMe fan loop responds in seconds and the rest of the system doesn't have to know. When the mains power glitches, the UPS absorbs it without involving anything else. When the edge tier needs cleaner power, RailCore distributes it — and tells you, in light, when a node on it goes down. When the management board's 5 V rail browns out, it does so without taking the compute box with it.
Each of those is a small win on its own. Together they describe a machine that survives change — the property the rest of the series keeps coming back to. And the sharpest proof is the V100 cooling redesign: swapping bolted-on fans for a sealed printed shroud dropped the cards 20 °C, and nothing above the airflow interface had to change to absorb it. The compute didn't know its cooling was rebuilt underneath it. That's separation working.
The thing to take away from this post specifically is that the parts list is unremarkable and the architecture is the entire game. None of these decisions is exotic. The Aerocool case is $90. The V100 shroud is a few pennies of glass-fibre filament printed on the lab's own machine; the 9733 blowers and the Thermalright fan controller are the small remaining spend. The NVMe heatsink is $35. The script is ninety lines of bash. The PSU was $150 new on Marketplace because Marketplace had one. The UPS was $200. RailCore is an old ATX supply, a printed PCTG box, and an LED ring.
The architecture is what makes the parts list work — and increasingly, the lab makes its own parts to fit the architecture. That compounds. The next post does the same job on networking.
Next: post 05, "Separation of concerns: networking" — a dedicated point-to-point 10-gig link, the MB/s vs Mb/s units trap, and getting a laptop onto fast networking via Thunderbolt 4.